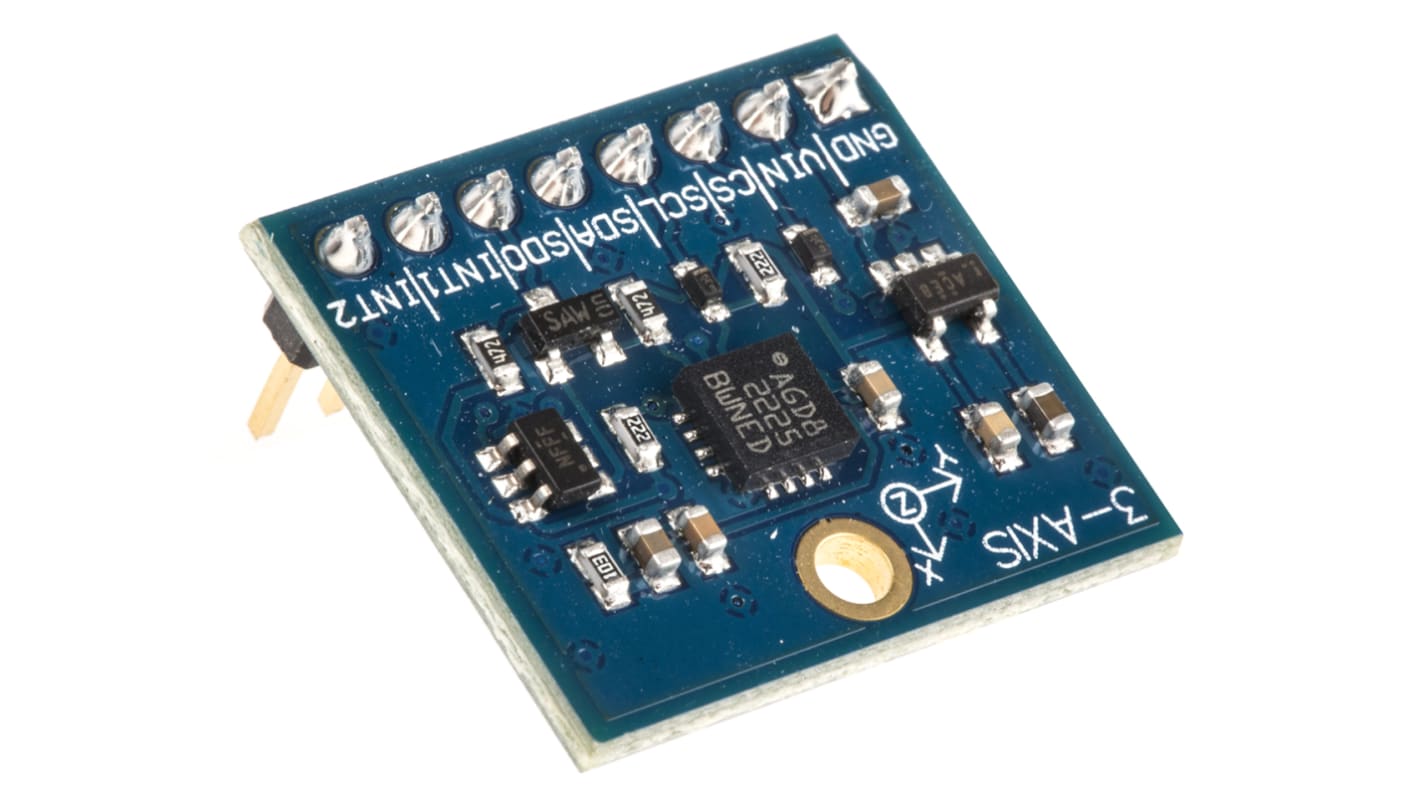

Accelerometer: This sensor measures changes in acceleration and allows a phone to detect orientation, motion, and gestures. It is commonly used for screen rotation, step tracking, and gaming.
Gyroscope: This sensor measures the orientation and angular velocity of a device, providing information about its position and movement. It is used in applications that require precise motion tracking, such as virtual reality games.
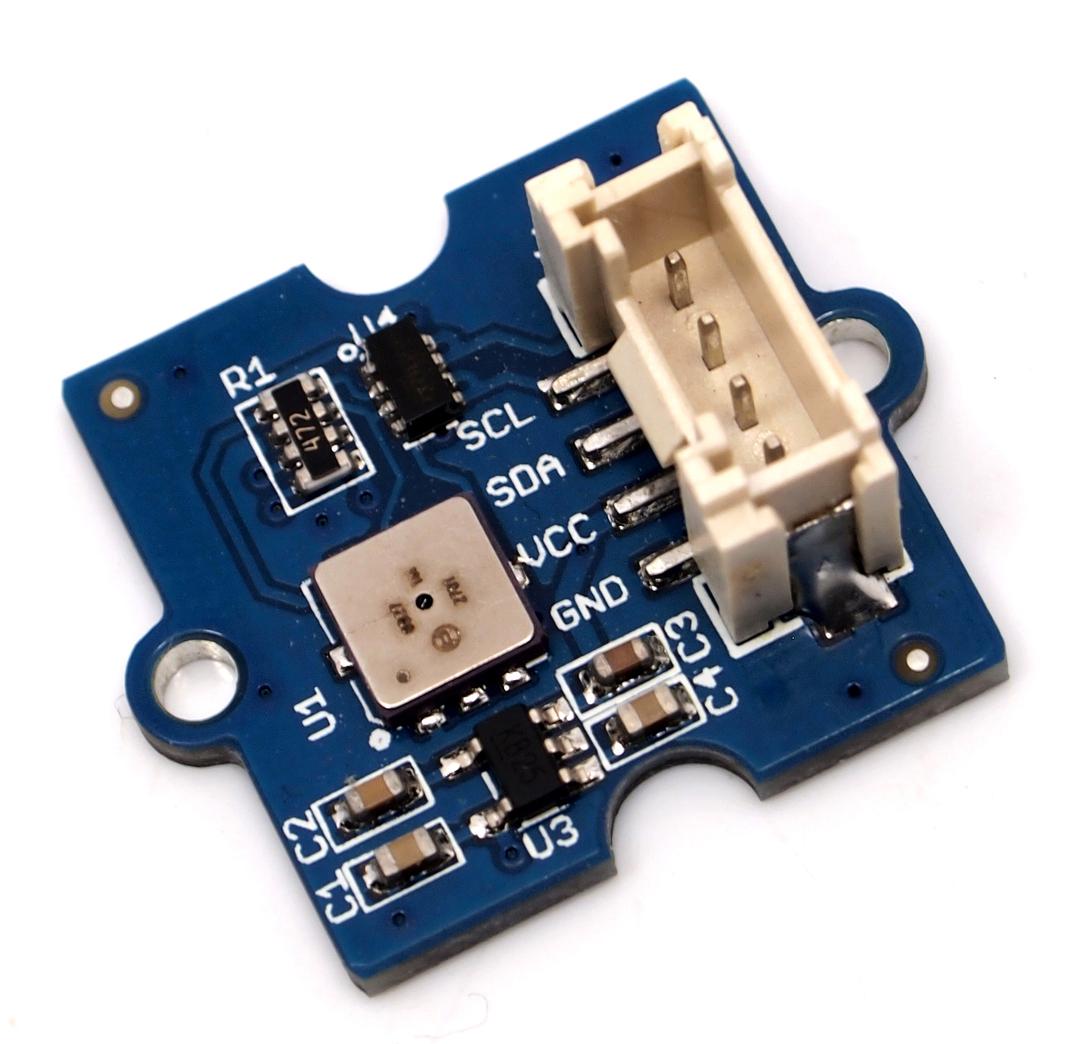
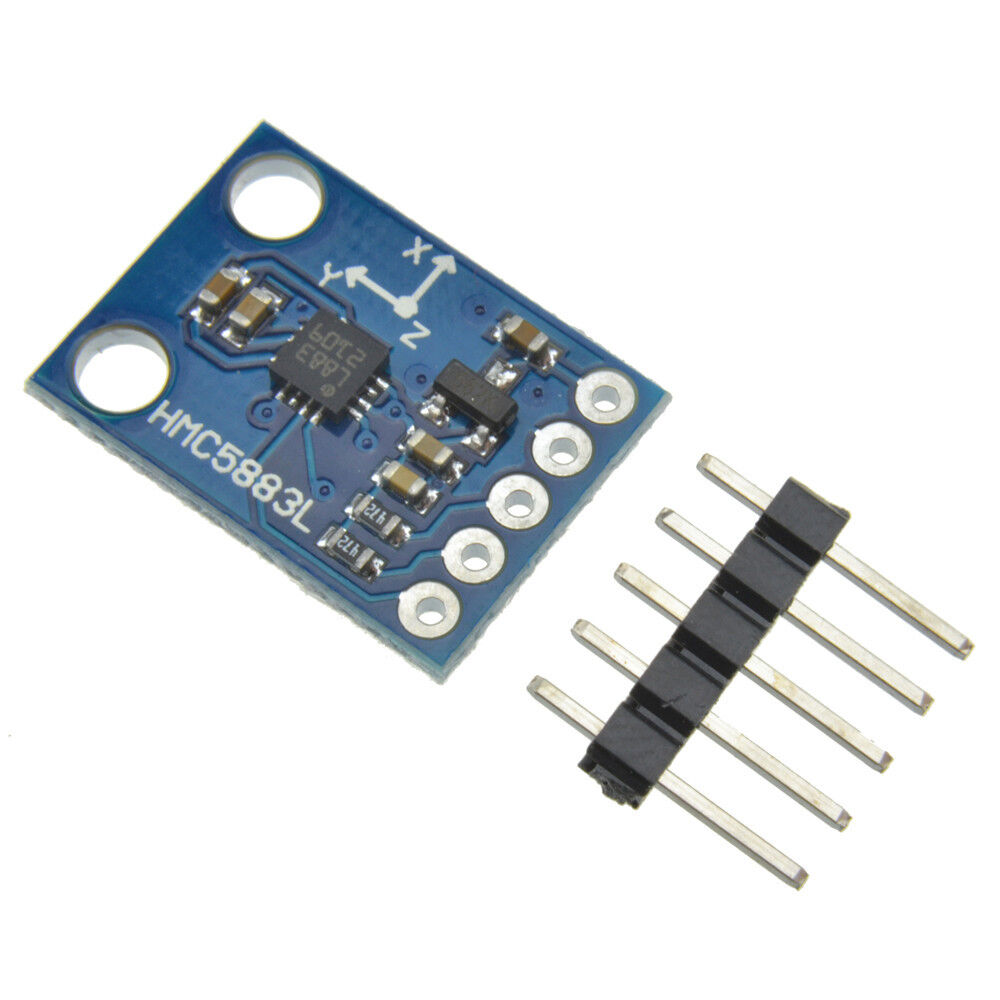
Magnetometer: Also known as a compass, this sensor measures the magnetic field around a device and helps determine its direction and orientation. It is used for navigation, mapping, and location-based services.
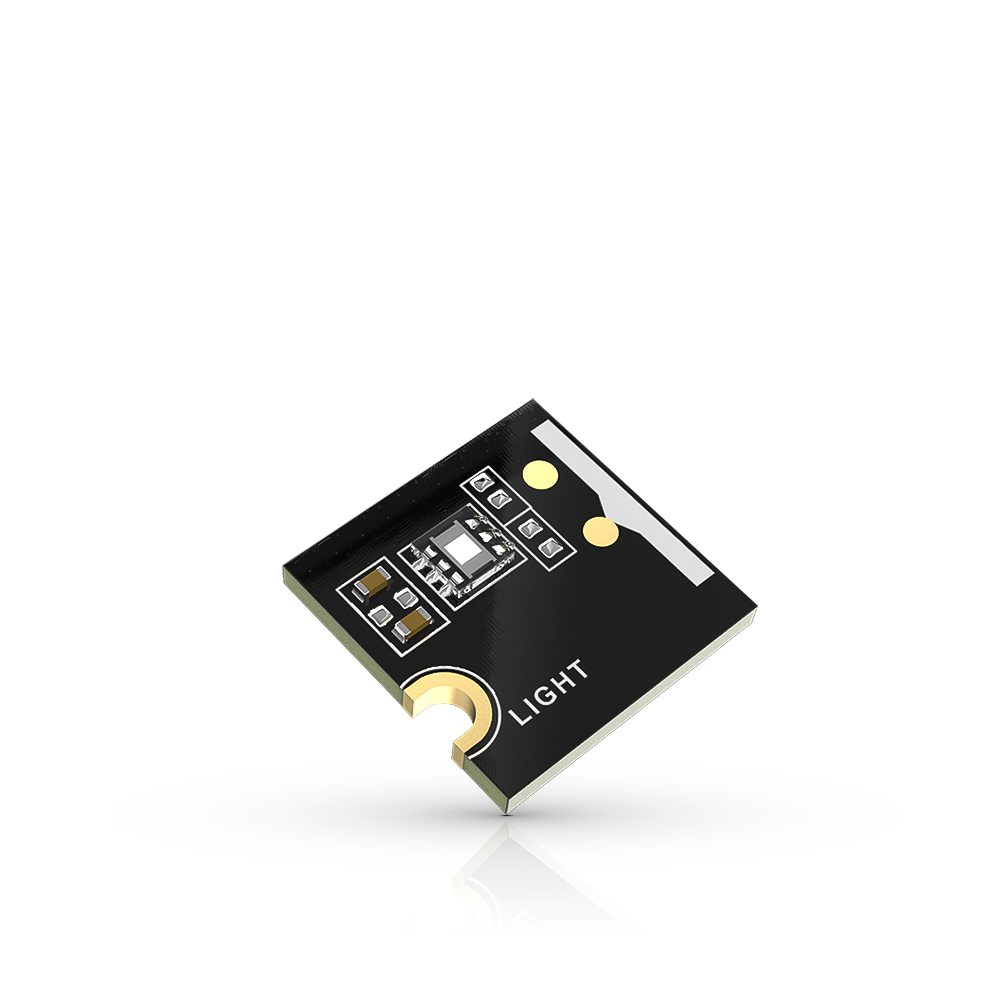
Ambient Light Sensor: This sensor measures the intensity of light in the environment and adjusts the screen brightness accordingly. It helps conserve battery life and provides a better viewing experience in different lighting conditions.
Proximity Sensor: This sensor detects the presence of an object in close proximity to the device, such as during a phone call, and can automatically turn off the display to prevent accidental touches.
Barometer
: This sensor measures atmospheric pressure and is used for weather forecasting, altitude tracking, and navigation.
GPS (Global Positioning System)
: This sensor uses satellite signals to determine the precise location of a device. It is commonly used in mapping, navigation, and location-based services.
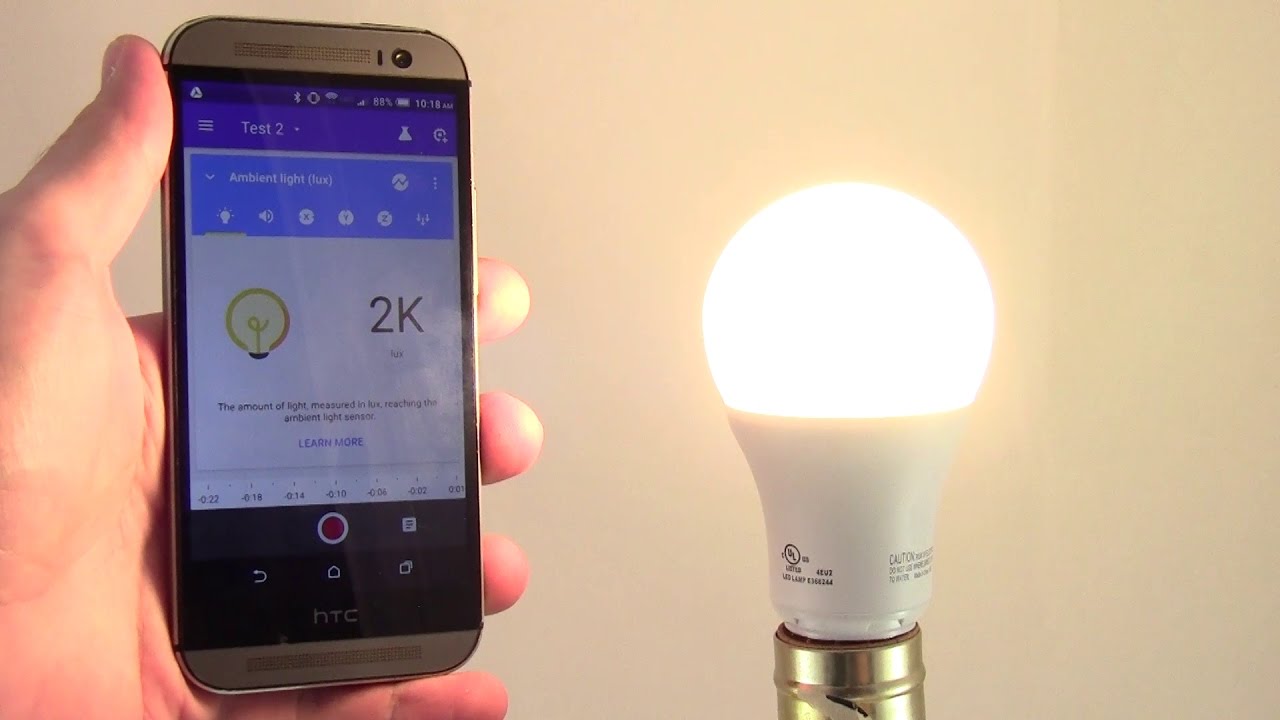
Light Sensor Experiment
:
Materials:
- A smartphone with the Science Journal app installed
- A light source (such as a lamp or flashlight)
- A ruler or measuring tape
Steps:
1. Open the Science Journal app on your smartphone and select "New Experiment."
2. Name your experiment and select "Add Sensor."
3. Choose the "Light" sensor and select "Start" to begin recording data.
4. Position your smartphone approximately 1 meter away from the light source, facing the light source directly.
5. Turn on the light source and allow it to stabilize for a few seconds.
6. Start recording data in the Science Journal app and measure the distance from the light source to the smartphone using a ruler or measuring tape.
7. Record the light intensity data for at least 1 minute.
8. Stop the experiment and analyze the data by selecting the graph icon on the app.
9. Observe the graph and look for patterns or trends in the data. Note any significant changes in light intensity with respect to the distance from the light source.
Findings:
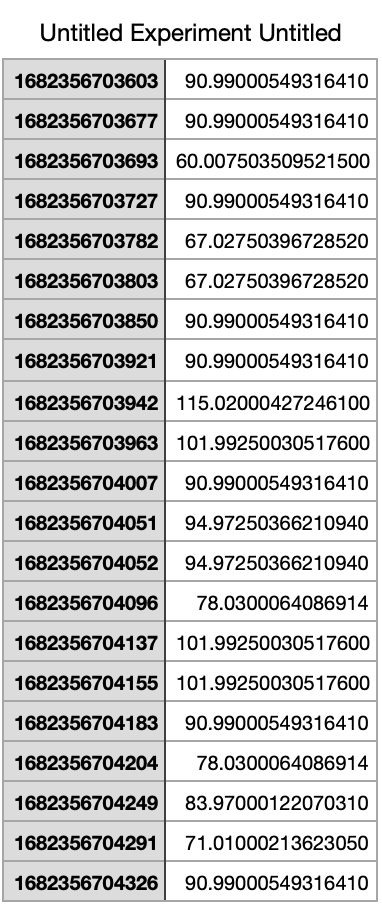
Based on the data collected from the Science Journal app, we observed that the light intensity decreased as the distance from the light source increased. This finding is consistent with the inverse square law, which states that the intensity of light decreases with the square of the distance from the light source. The data collected and analyzed using the Science Journal app provides evidence for this fundamental property of light, demonstrating the app's ability to measure and analyze light intensity data in a simple experiment without the need for an external light sensor.
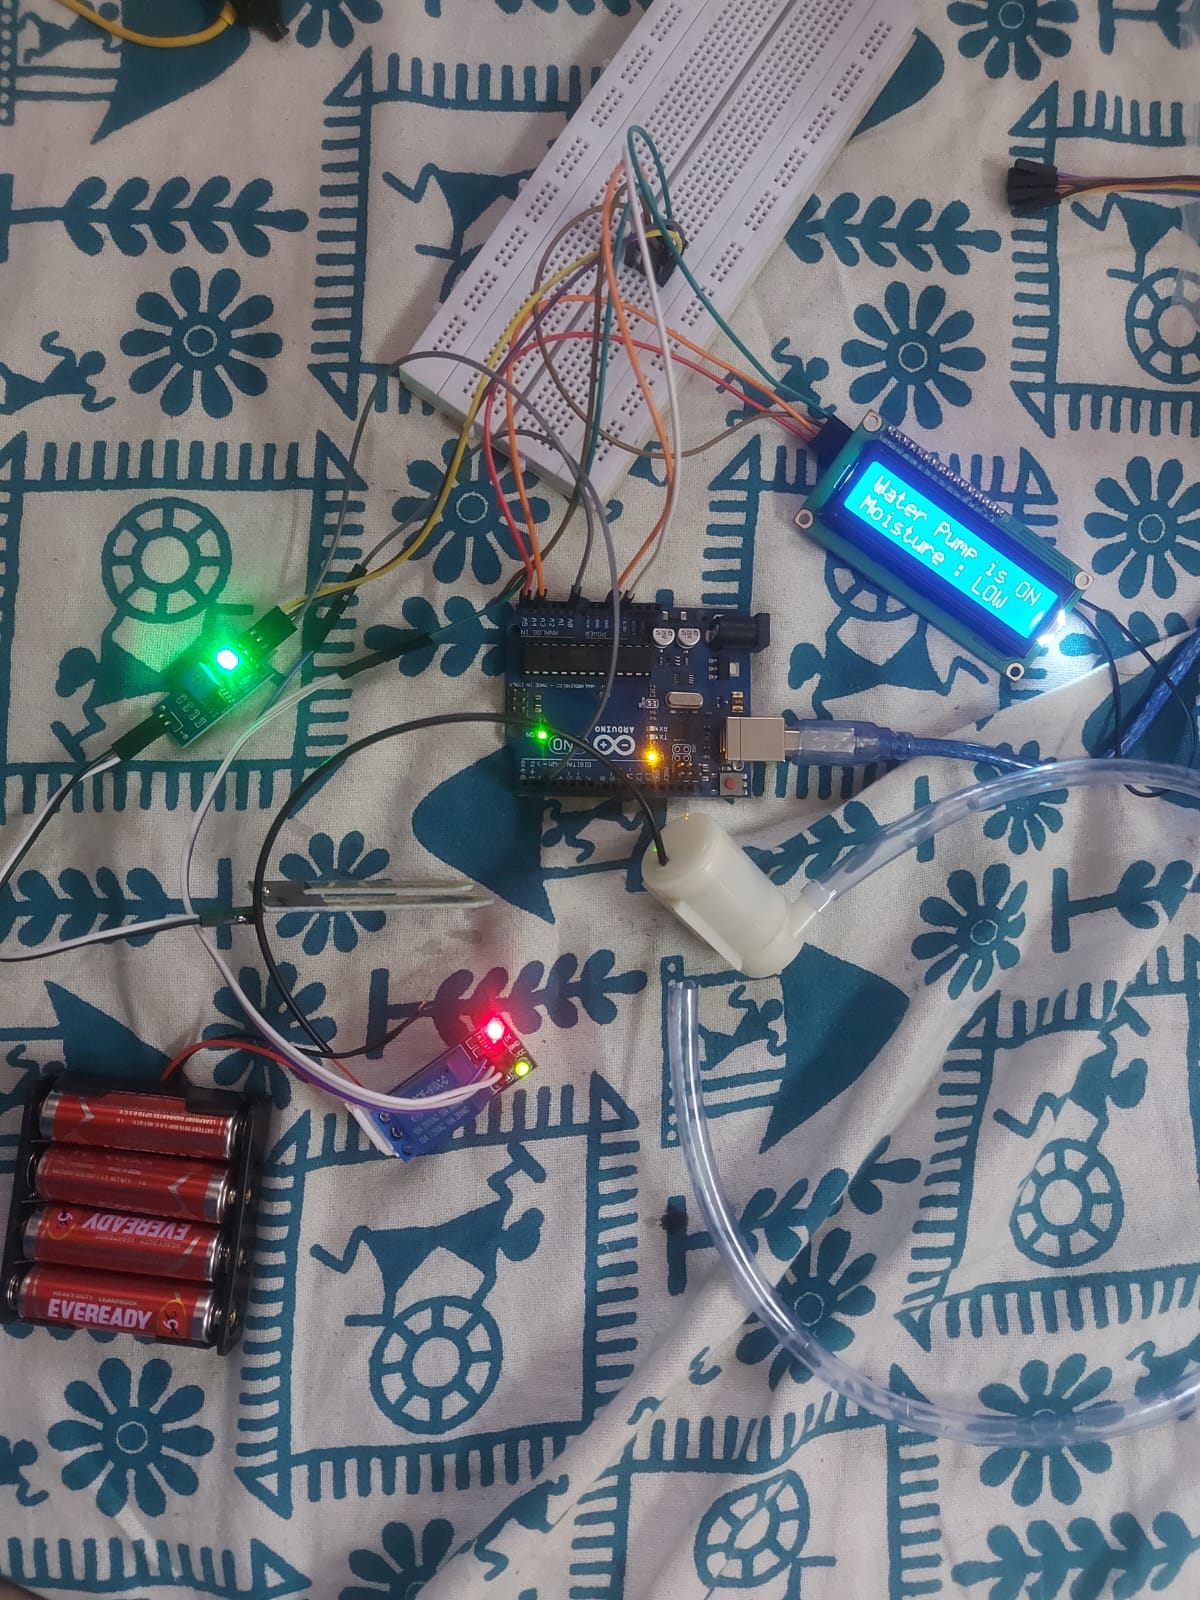
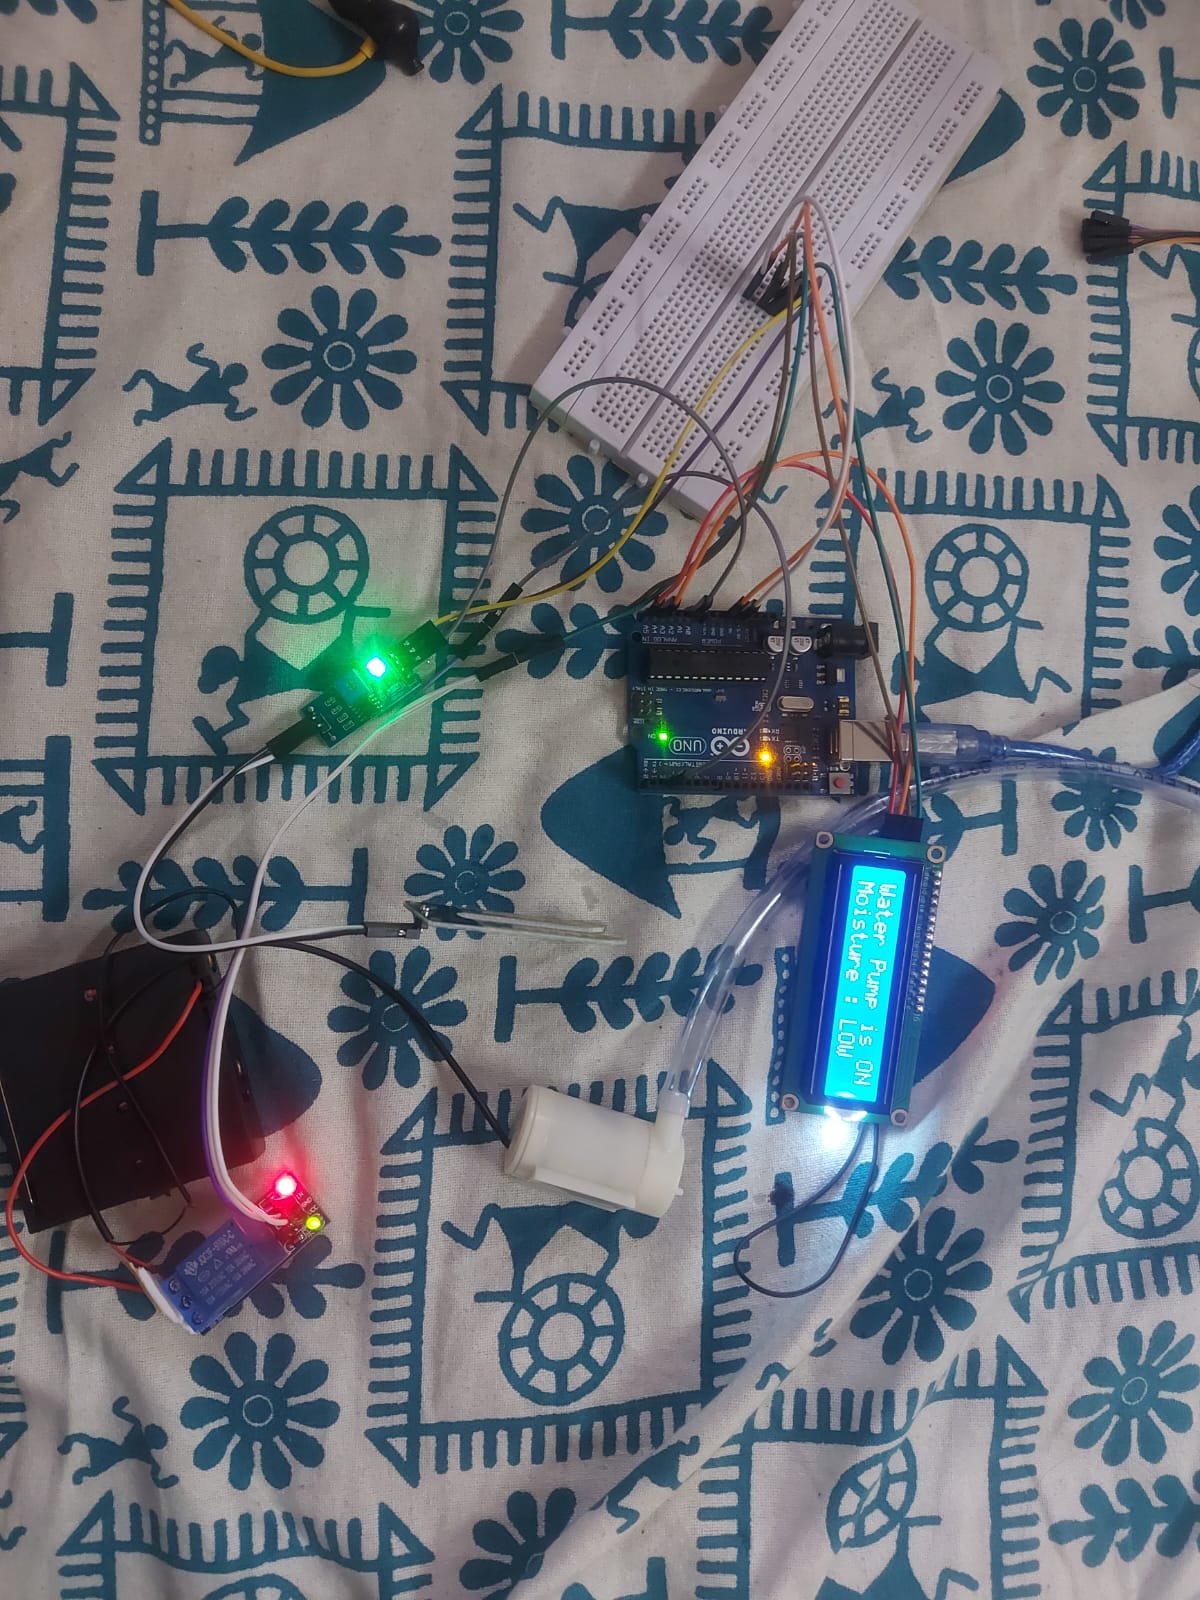
A self-watering planter made using Arduino and sensors is an innovative gardening solution that can greatly benefit hostel residents. It consists of a plant pot equipped with an Arduino microcontroller, moisture sensors, and a water pump. The moisture sensors monitor the soil moisture level, and when it falls below a certain threshold, the Arduino triggers the water pump to automatically water the plant.
The self-watering planter offers several advantages to hostel residents. Firstly, it ensures that the plants are consistently and adequately watered, even when the residents are busy or forgetful. This prevents underwatering or overwatering, which are common issues in plant care, and helps the plants thrive.
Secondly, the self-watering planter saves time and effort as hostel residents do not have to manually water their plants regularly. This is especially helpful for busy students who may not have the time or inclination to take care of their plants on a daily basis.
Thirdly, the self-watering planter promotes plant health by maintaining optimal moisture levels in the soil. This can result in healthier, lusher plants with improved growth and flowering, enhancing the aesthetic appeal of the hostel environment.
Lastly, the use of Arduino and sensors in the self-watering planter introduces hostel residents to basic principles of automation, coding, and sensor technology. This can be a great learning experience for students, helping them develop skills in programming, electronics, and sustainable gardening practices.
In conclusion, a self-watering planter made using Arduino and sensors is a convenient and efficient gardening solution that can benefit hostel residents by automating plant care, saving time and effort, promoting plant health, and providing a valuable learning experience.
Here are the general steps to make a self-watering planter using Arduino and sensors:
Step 1: Gather Materials
- Arduino microcontroller board
- Moisture sensors (e.g., capacitive or resistive sensors)
- Water pump
- Plant pot or container
- Tubing or piping for water delivery
- Jumper wires
- Breadboard or PCB (Printed Circuit Board)
- Power source (e.g., battery or power adapter)
- Optional: Enclosure or housing for Arduino and electronics
Step 2: Prepare the Plant Pot
- Choose a suitable plant pot or container that has drainage holes at the bottom for excess water to drain out.
- Insert the moisture sensors into the soil of the plant pot at different depths to measure the moisture level at different levels of the soil.
Step 3: Connect the Circuit
- Connect the moisture sensors and water pump to the Arduino board using jumper wires.
- Follow the specific wiring diagram or schematic for your moisture sensors and water pump.
Step 4: Upload Code to Arduino
- Write or obtain the appropriate code to program the Arduino microcontroller to read the moisture sensor values and control the water pump.
- Upload the code to the Arduino board using the Arduino IDE (Integrated Development Environment) or other compatible software.
Step 5: Assemble and Test
- Assemble the self-watering planter by connecting the water pump to the tubing or piping and positioning it in a way that it can deliver water to the plant pot.
- Place the Arduino board and electronics in a suitable enclosure or housing, if desired.
- Power up the system and test the moisture sensor readings and water pump operation.
- Adjust the moisture threshold in the code to control when the water pump should be activated based on the desired moisture level for your plants.
#include <LiquidCrystal_I2C.h>
LiquidCrystal_I2C lcd(0x27, 16, 2);
void setup() {
Serial.begin(9600);
lcd.init();
lcd.backlight();
lcd.clear();
pinMode(2, OUTPUT);
digitalWrite(2, HIGH);
delay(1000);
lcd.setCursor(0, 0);
lcd.print("IRRIGATION");
lcd.setCursor(0, 1);
lcd.print("SYSTEM IS ON ");
lcd.print("");
delay(3000);
lcd.clear();
}
void loop() {
int value = analogRead(A0);
Serial.println(value);
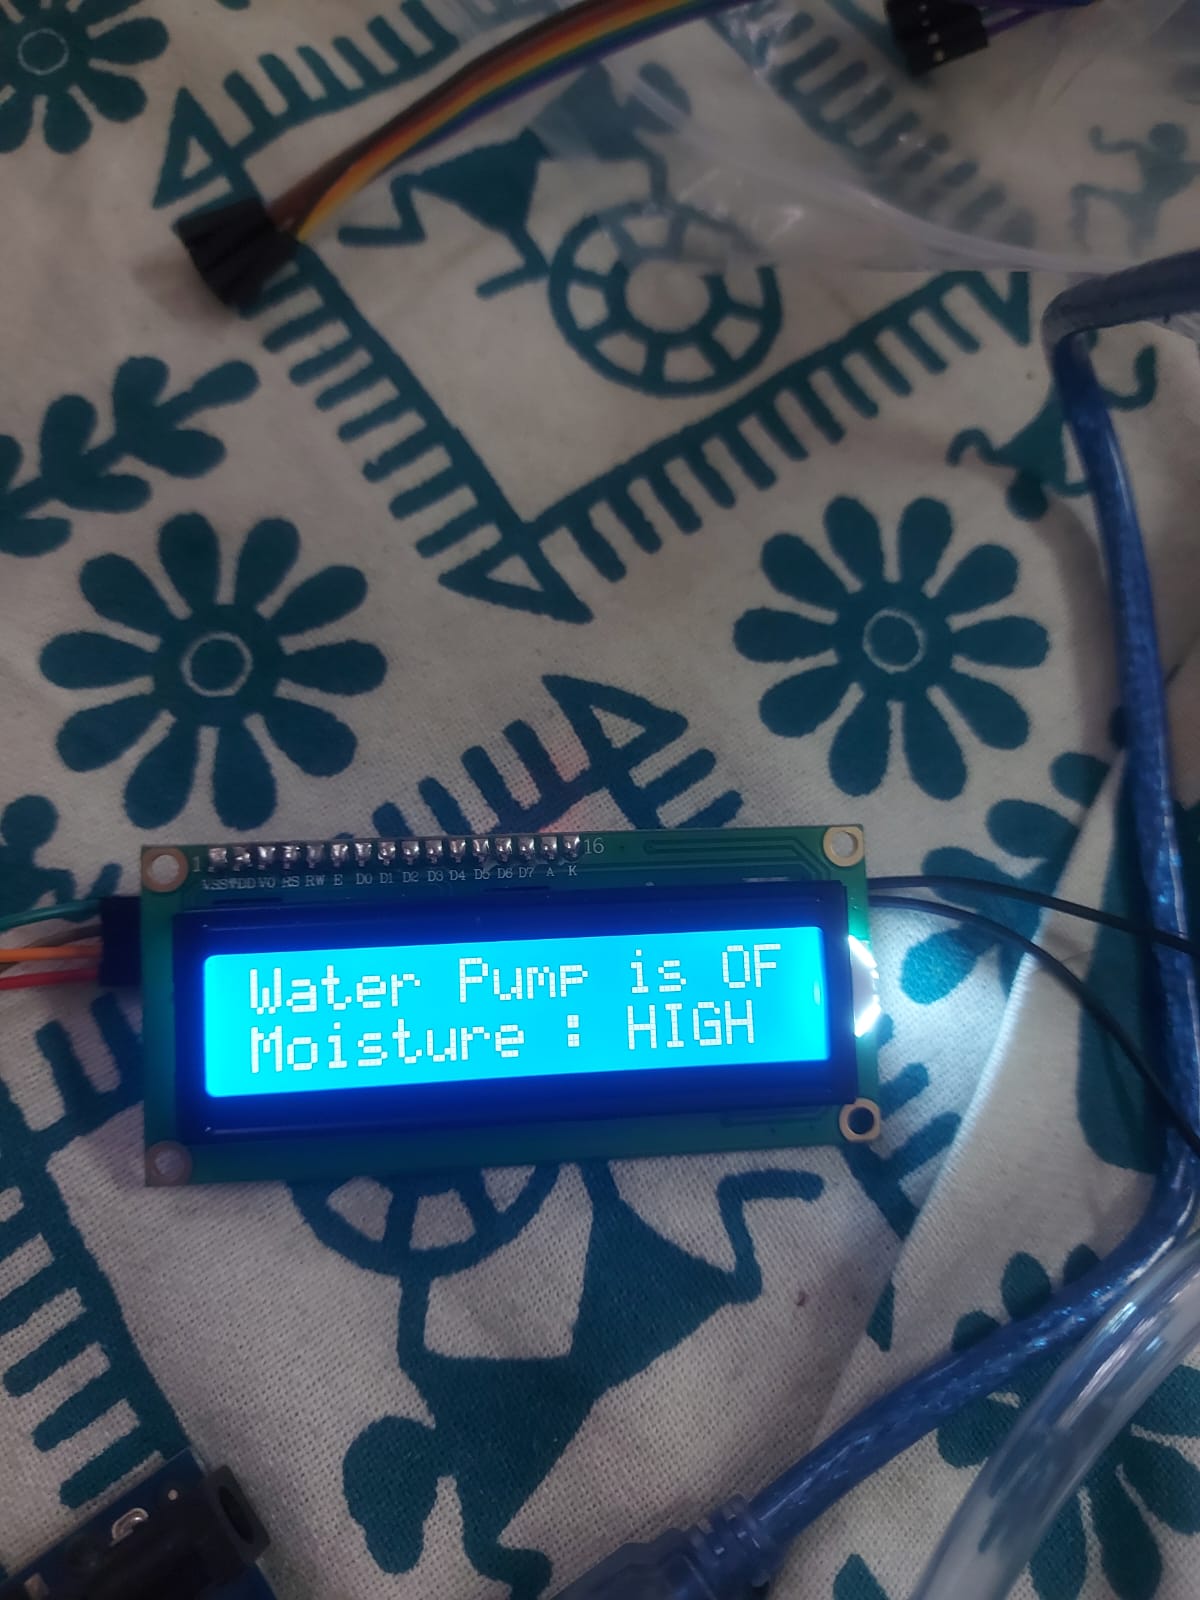
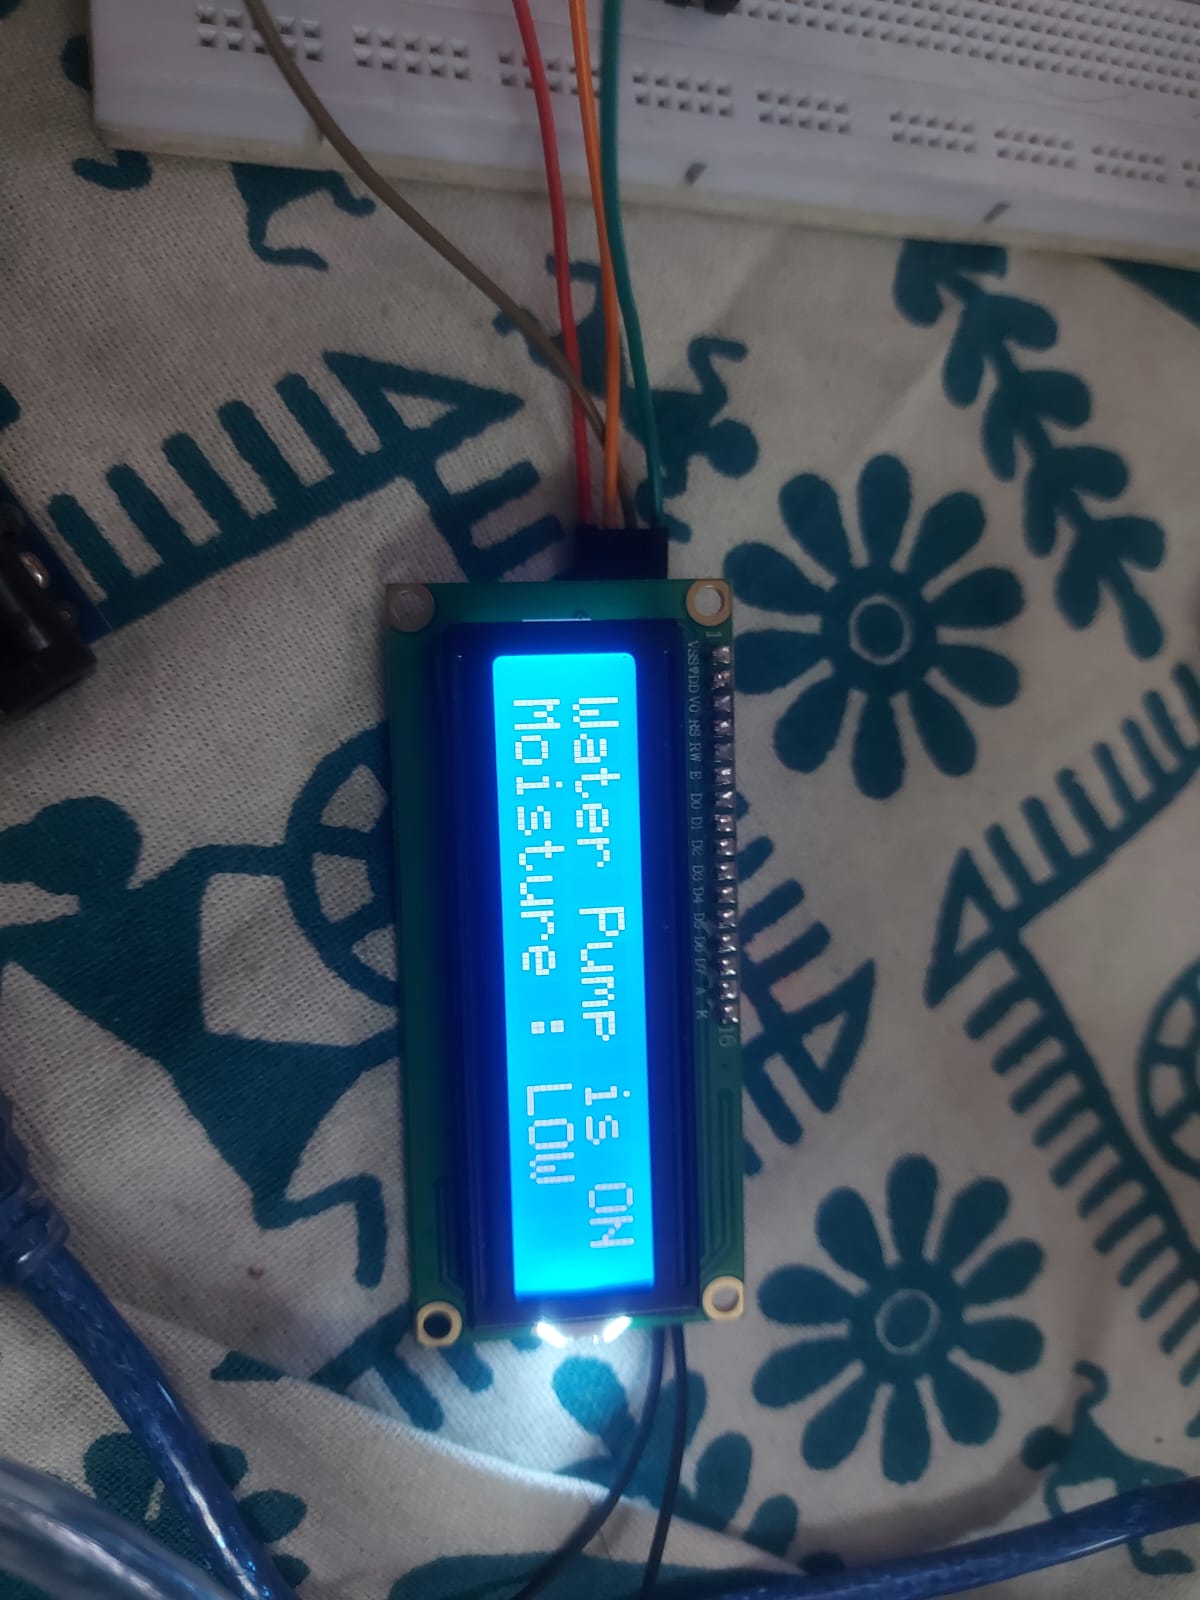
if (value > 950) {
digitalWrite(2, LOW);
lcd.setCursor(0, 0);
lcd.print("Water Pump is ON ");
} else {
digitalWrite(2, HIGH);
lcd.setCursor(0, 0);
lcd.print("Water Pump is OFF");
}
if (value < 300) {
lcd.setCursor(0, 1);
lcd.print("Moisture : HIGH");
} else if (value > 300 && value < 950) {
lcd.setCursor(0, 1);
lcd.print("Moisture : MID ");
} else if (value > 950) {
lcd.setCursor(0, 1);
lcd.print("Moisture : LOW ");
}
}

created with
Website Builder Software .